Workshop Setup
For detailed setup instructions how to setup Zephyr on your machine, refer the Zephyr Getting Started Guide.
Starting the Dev Environment
This zephyr-workshop repository, has GitHub codespaces configured. This provides a cloud-hosted development environment based on devcontainers with VSode integration. In order to start it in your browser follow the steps:
Note
Codespace Configuration Tip
Use a 4-core setup instead of the 2-core default for better performance
You should have 120 core-hours per month free on GitHub Codespaces
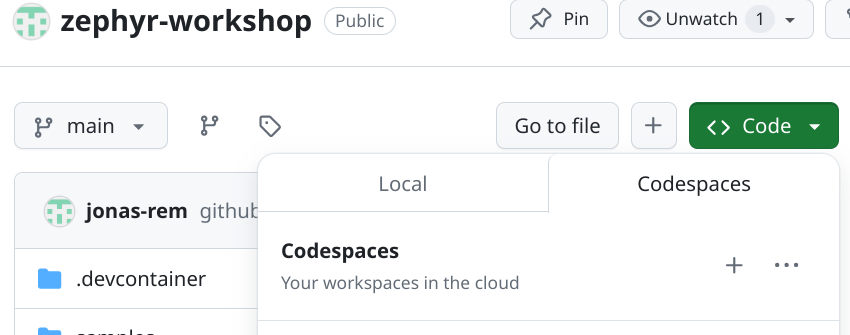
Navigate to the repository on GitHub: https://github.com/jonas-rem/zephyr-workshop
Click the green “Code” button
Select the “Codespaces” tab
Click “Create codespace on main”
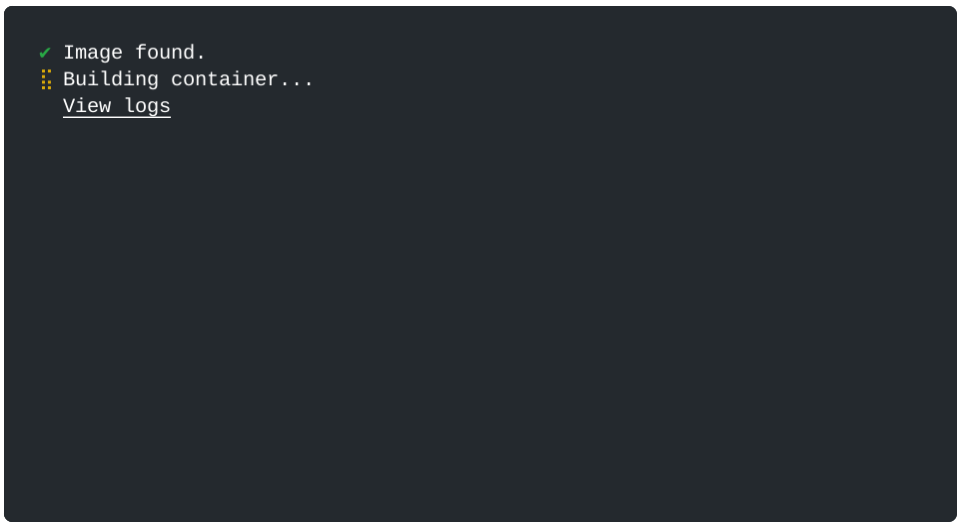
The setup will take a few minutes as it installs all required dependencies.
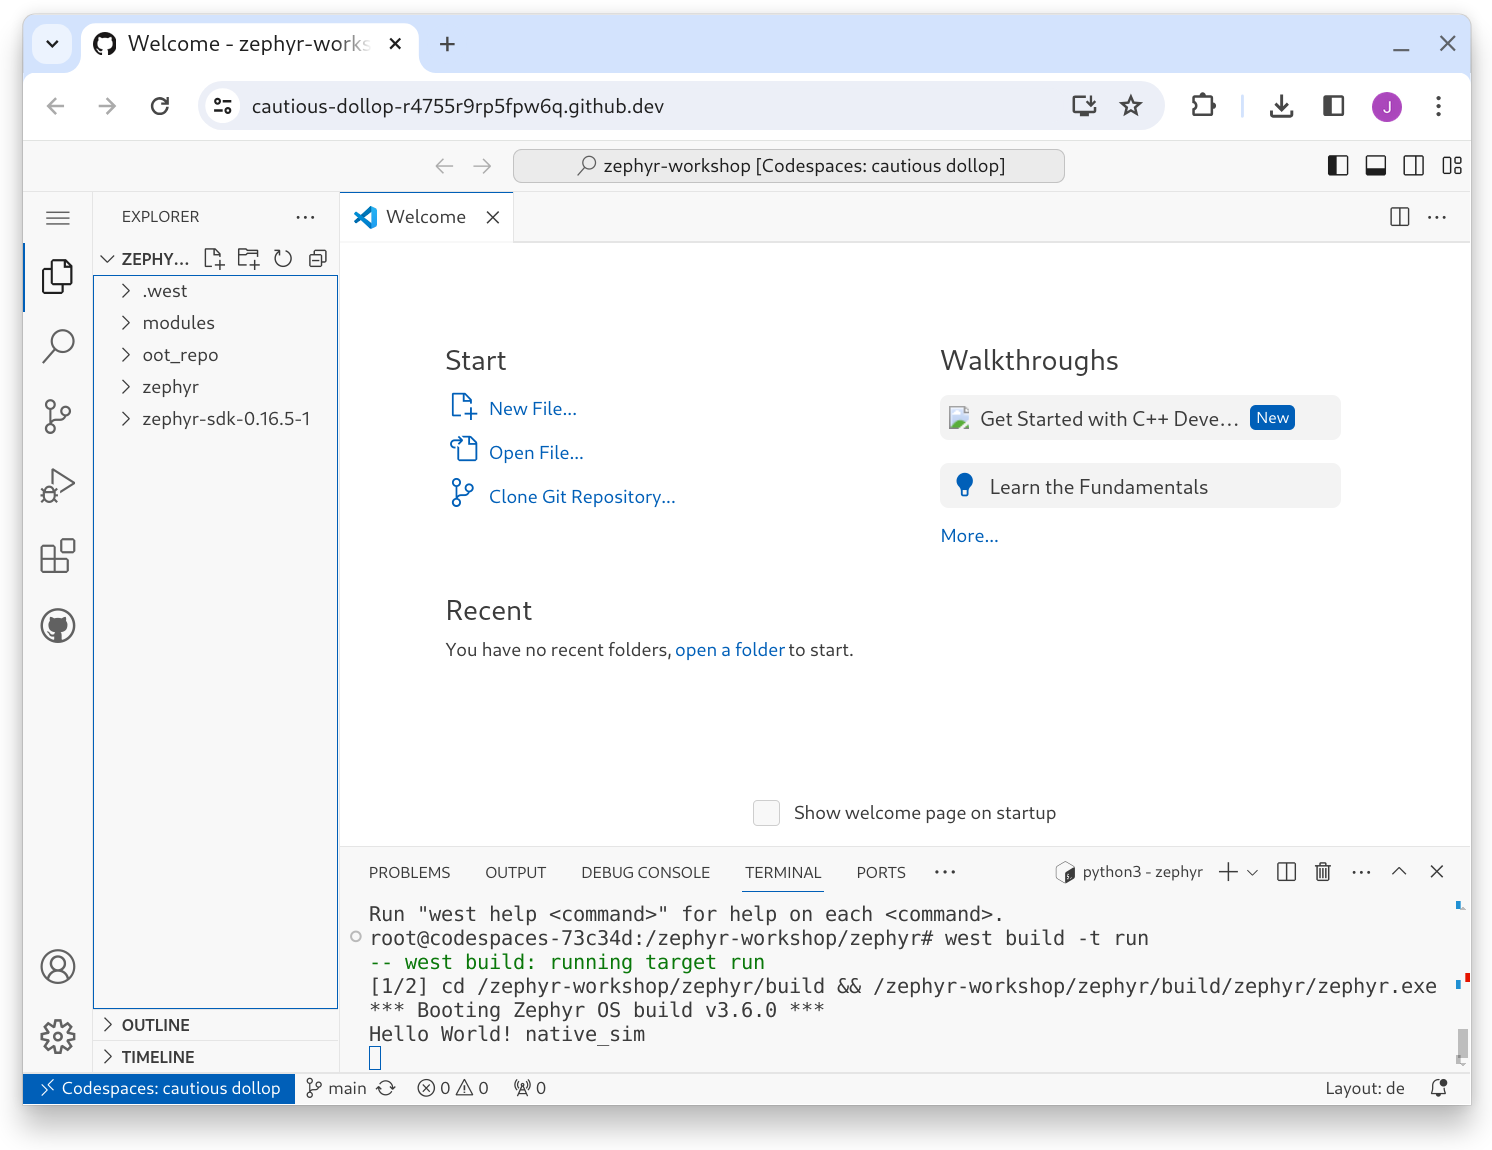
Once ready, the Codespace opens in a browser window:
Testing the Codespace Setup
Once your Codespace is ready, test it with the Hello World example.
host:~$ west build -b native_sim zephyr/samples/hello_world -p
  building..
host:~$ west build -t run
  *** Booting Zephyr OS build v4.3.0 ***
  Hello World! native_sim/native
This output confirms that the Zephyr build was successfull. The command west
build -t run executes build//zephyr/zephyr.exe. Zephyr Version
(v4.3.0) as well as the Board (native_sim/native) is printed.